Are you looking for a comprehensive guide on drywall finishing for beginners?
You are perhaps planning on a home improvement project that involves drywall finishing. If that is the case, then you found the right guide.
Learning how to finish drywall gets you a long way. It lets you patch up walls without needing professional help which, in return, saves you money.
So, you might be wondering how to get that smooth, professional finish?
In this guide, our experts here in Columbia Paint Pros will share a step-by-step process of drywall finishing for beginners, as well as the right techniques and tools.
Let’s start.
What Is Drywall Finishing?
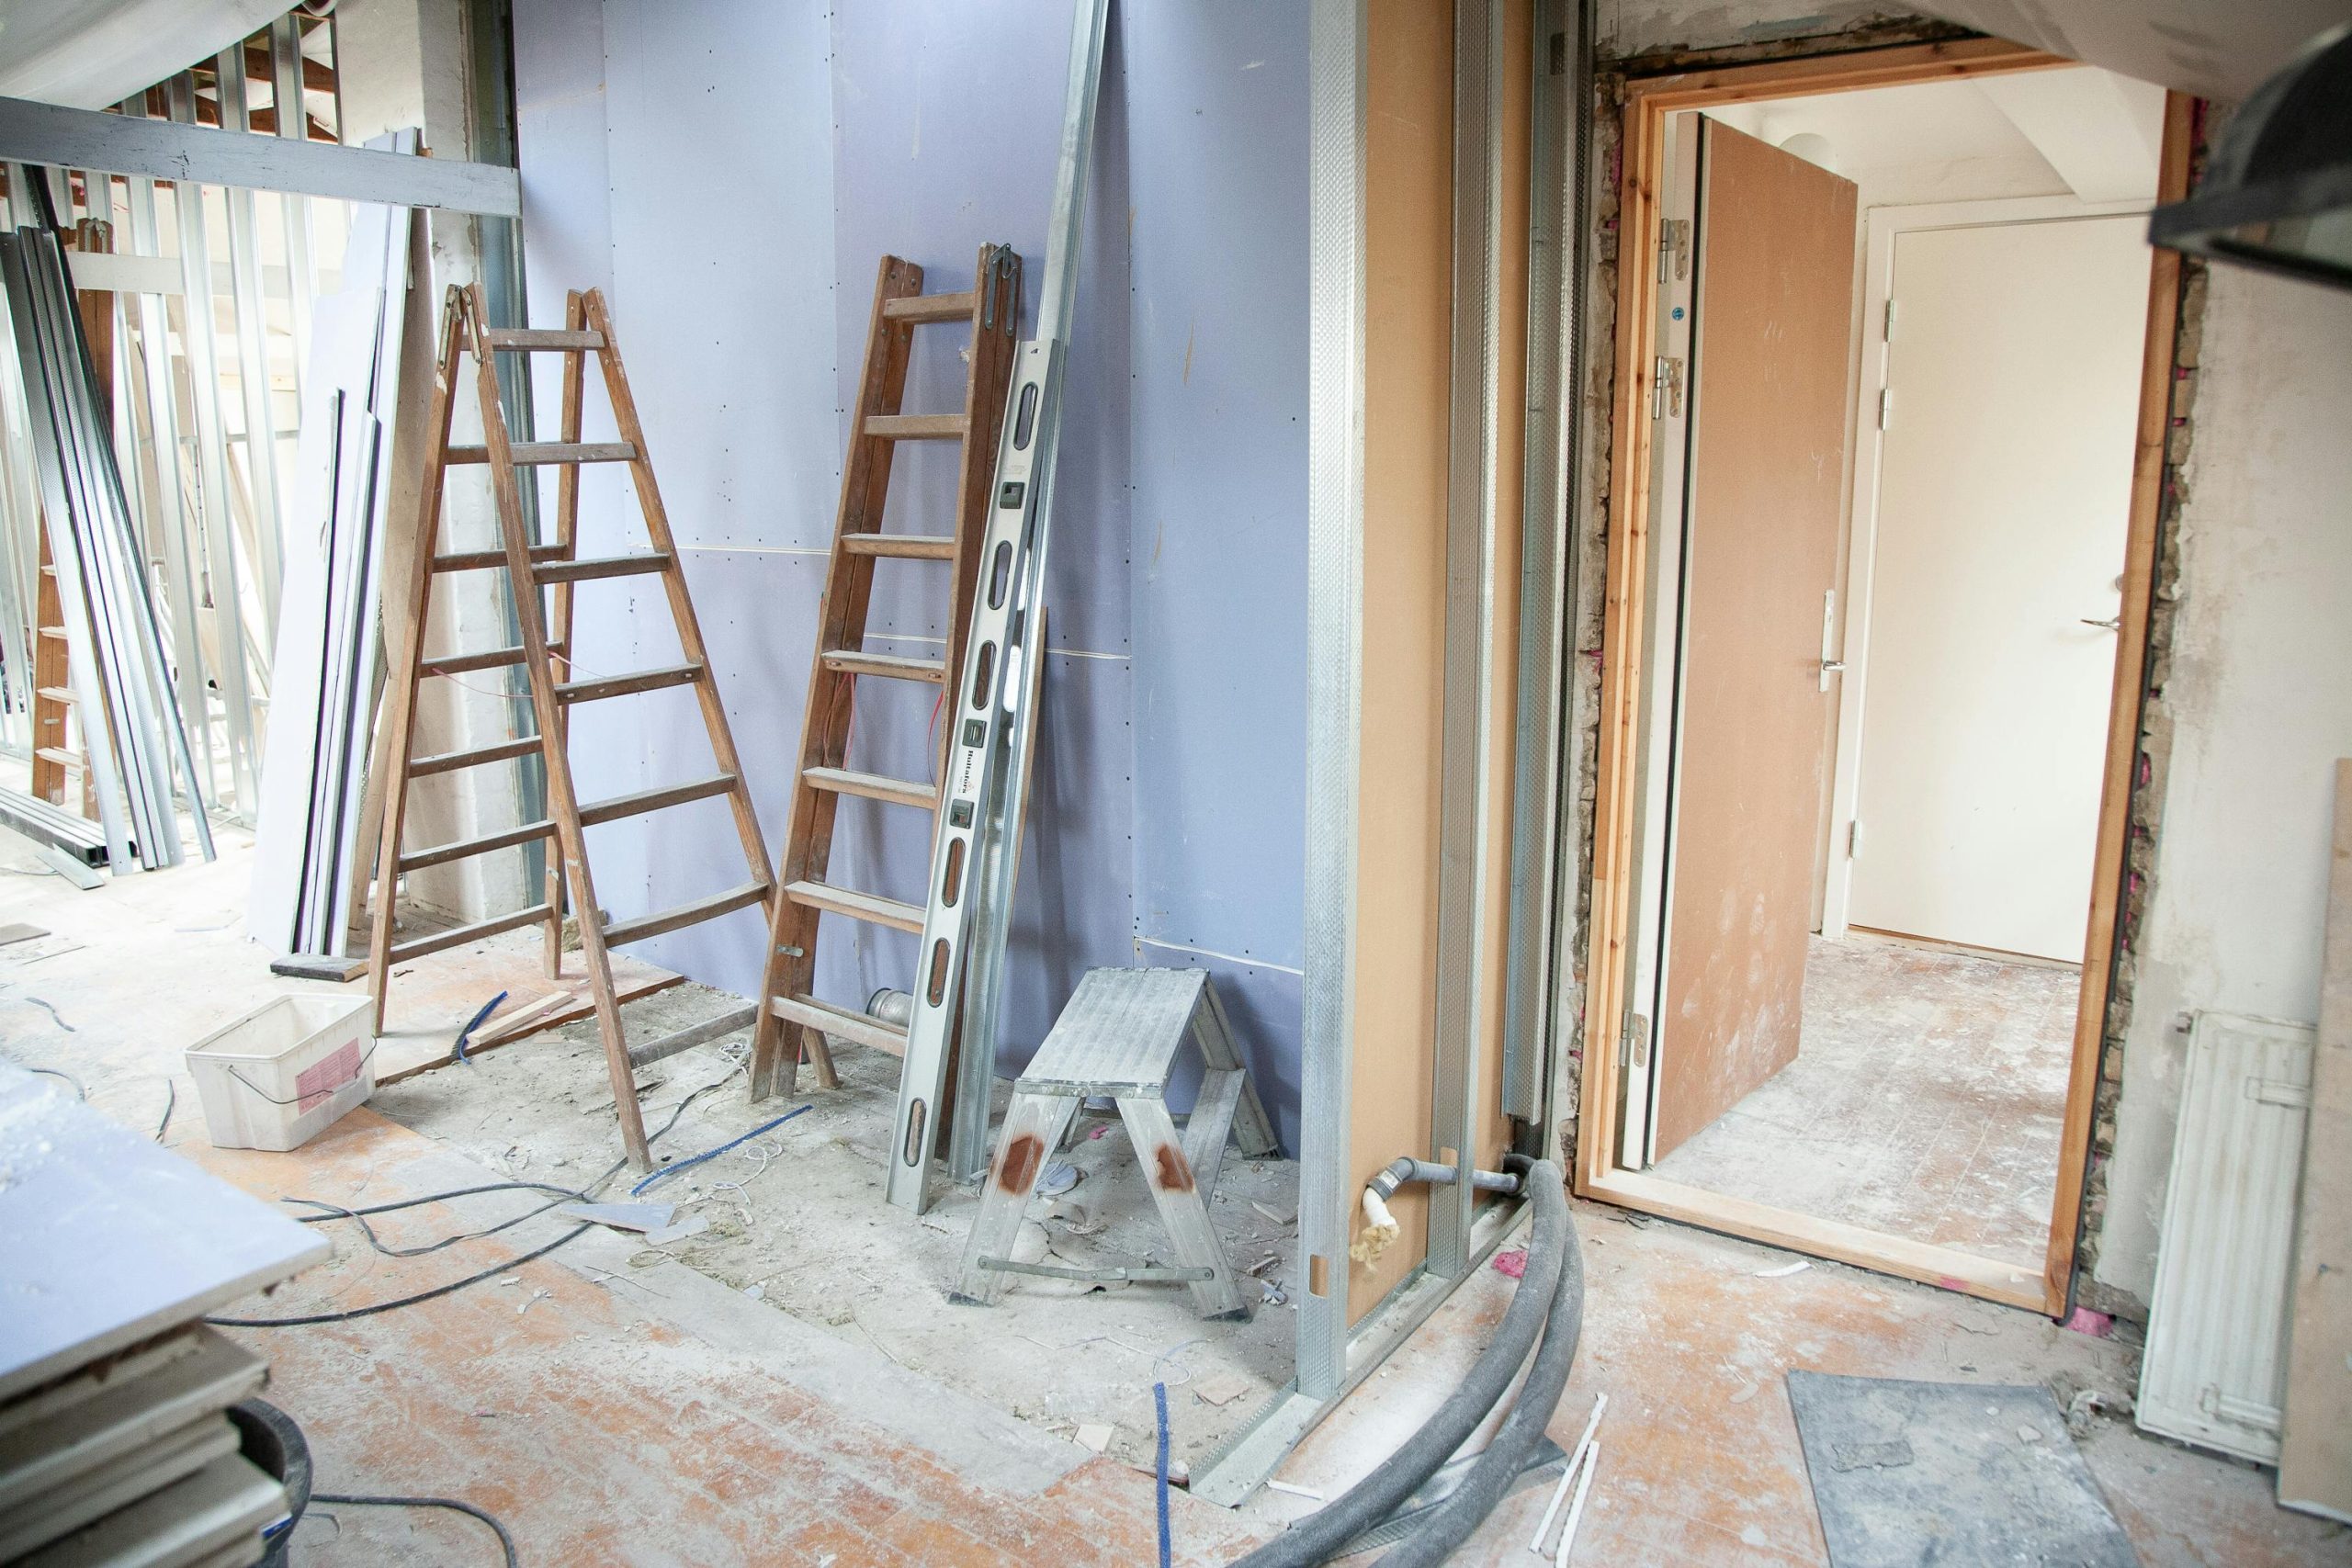
Drywall finishing is the process of transforming a wall made of drywall sheets—also known as sheetrock or gypsum board—from a joint-filled, rough surface to a smooth canvas ready for paint.
So, what exactly is drywall finishing?
Drywall finishes is the art of covering the seams, screw holes, and other imperfections in drywall to create a smooth, professional-looking wall.
They are attached to the framing of your walls. This, naturally, where these sheets meet, gaps and indentations from the screws exist. And without proper finishing, these imperfections would be glaringly obvious and detract from the overall aesthetic of the room.
Different Stages of Drywall Finishing
Drywall finishing comes in four stages—taping, mudding, sanding, final touches. Each playing a significant role in achieving that smooth finish.
Here’s what happens during each stage:
- Taping: Taping is the first stage, and where the magic begins. In this stage, a special drywall tape is applied over the joints between the drywall sheets. The tape is usually made of paper or fiberglass mesh and acts as a reinforcement which prevents cracks from appearing later on.In simple terms, it is like a bridge spanning the gap between the boards.
- Mudding (or Compound Application): Mudding is the second stage. It is the process of adding drywall joint compound (often referred to as mud) over the tape and screw holes. The mud fills the gaps and creates a smooth and even surface.Think of it as a filler that creates a uniform plane. Multiple coats of mud are usually applied, each one thinner than the last.
- Sanding: Sanding is the third stage; it is where bumps, ridges, and any imperfections are removed by sanding the surface. During sanding, different grits of sandpaper are used. It starts with coarser grits to knock down the bulk of the compound and finishes it with finer grits for a super smooth finish.Sanding requires a delicate touch; thus, a professional. Too much pressure can damage the drywall paper, while too little might leave imperfections.
- Final Touches: For the final stage, a final inspection is done to ensure all imperfections are gone. Using a damp cloth or sponge, any residual dusts from sanding are removed by wiping them.Sometimes, an additional very light “skim coat” of mud might be applied and sanded for a truly flawless finish.
A Beginner-friendly Guide to Finish Drywall
Ready to start? Below is a step-by-step guide on how to finish drywall.
Gather Your Tools and Materials
Before you begin, make sure you have all the tools and equipment you need. Here’s a list:
- Pre-mixed or powder form of drywall joint compound
- A mesh or paper drywall tape to cover seams
- A 6-inch and 12-inch putty knives for the application of compound
- 120 grit sandpaper or sanding sponge for smoothing
- Corner trowel for finishing inside corners
- Mud pans to hold joint compound while working
- Dust mask and safety glasses for protection
Apply Drywall Tape to Seams
The first step in the process is covering the joints where drywall panels meet. Simply apply drywall tape over all seams and press it firmly into place.
If you are using paper tape, keep in mind that it requires a thin layer of joint compound underneath for adhesion. Mesh tape, on the other hand, is self-adhesive and easier to apply. Although it is prone to cracks if not properly applied.
Apply the First Coat of Joint Compound
Now it’s time to apply the first coat of drywall mud over the taped seams.
Step 1: Add a small amount of joint compound on your 6-inch putty knife.
Step 2: Spread a thin layer over the taped seams. MAke sure the tape is fully covered.
Step 3: Feather the edges by smoothing the compound outward with light pressure.
Step 4: Use a corner trowel to apply compound to inside corners.
Step 5: Let the first coat dry completely (typically 24 hours).
Apply Additional Coats
Once the first coat is dry, you’ll need to apply at least two more coats to build up a smooth surface. For the second coat, use a wider 12-inch putty knife and apply the mud slightly thicker than the first. Then, extend the length of the coat beyond the first coat’s edges.
For the third coat, apply an even thinner layer, and smooth everything out for a seamless blend.
Don’t forget to dry each layer of coat first before adding another layer. The goal is to make the transition between drywall and compound as smooth as possible.
Sanding for a Flawless Finish
Once the final coat is dry, it’s time to sand the surface. Here’s how to do it:
Step 1: Use fine-grit sandpaper (120-150 grit) or a sanding sponge.
Step 2: Lightly sand in circular motions, focusing on high spots and rough areas.
Step 3: Be cautious around seams to avoid over-sanding, which can expose the tape.
Step 4: Wipe away dust with a damp cloth or vacuum with a brush attachment.
Apply a Primer
Before painting, apply a drywall primer to seal the surface and ensure even paint absorption.
- Use a roller for larger areas and a brush for corners.
- Let the primer dry completely before painting.
- This step prevents the joint compound from absorbing too much paint and causing uneven color.
Why Not Hire a Professional Instead?
Drywall finishing may take time and patience as a beginner. But with practice, and by following the guide above, you will be well on your way to completing your drywall project.
For seamless work, however, you may want to hire a professional for your drywall finishing project.
Columbia Paint Pros offers professional drywall finishing services, and other home paint-related services. Through our meticulous techniques and high-quality material, we guarantee excellent workmanship.
Call us today at (803) 353-5850 or send us a message.